
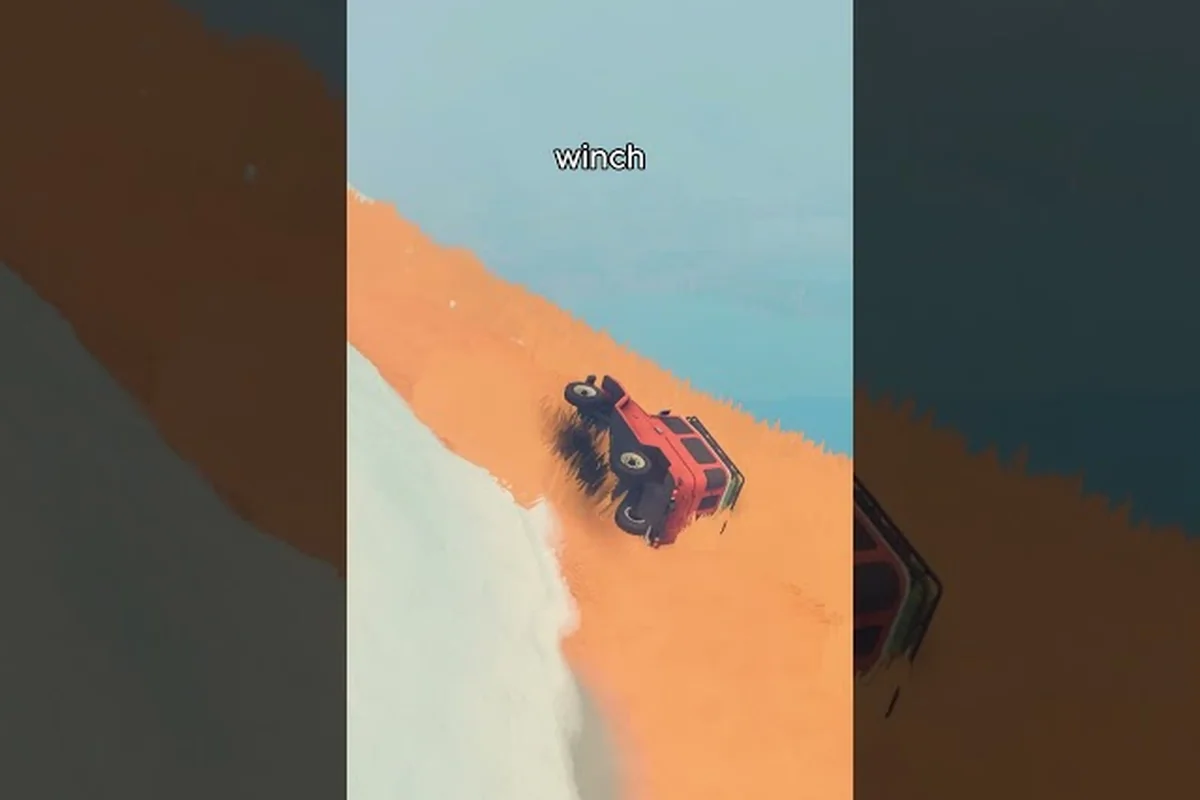
A winch line and a solid anchor point turn most Over the Hill disasters into a five-minute detour, while a missing recovery plan turns the same mud pit into a run-ender. This guide covers the garage picks, the anchor logic, and the field-tested recovery moves that keep your rig moving through rivers, bogs, and steep grades.
Why Winch Recovery Decides Every Over the Hill Run
In Over the Hill, the difference between a relaxing countryside cruise and an endless tow-truck nightmare almost always comes down to your winch setup. The biomes draw from real-world terrain, and once you push past the starter valleys, rivers, mud pits, and steep grades will pin your vehicle faster than you can shift into reverse. That is why practical over the hill winch recovery tips matter from your very first drive, not after you have already collected a dozen "Jalopy" screens. Community achievement data shows 74.6% of players earn "First Aid" (recover your first vehicle) but only 30.0% reach "Close Call" (pull a fully submerged vehicle out using the winch) and 25.2% manage "Back on Track" (recover from a rollover), so the gap between casual driving and intentional recovery play is enormous. Picking the right truck from the garage, knowing where the winch anchor points are, and saving smart before a risky crossing will save you hours of backtracking across the map. This guide breaks down the vehicles, anchor logic, and field-tested moves that turn a stuck Over the Hill truck into a short detour rather than a run-ender.
The Garage Lineup: Which Over the Hill Vehicle You Should Drive
Before you can recover anything, you need a machine capable of pulling itself, or being pulled, out of trouble. The Over the Hill garage spans classic 1970s-era off-roaders, and the Over the Hill vehicle list covers every unlock in detail. When players ask "over the hill which car should i drive," the honest answer depends on the biome and the winch job ahead, not on raw horsepower alone.
Starter Trucks and Their Real Roles
The earliest vehicles you unlock trade top speed for low-weight agility, which is exactly what you want while learning where the winch anchor trees are. Heavier trucks, like the K5 Blazer, show up later and act as your "anchor donor" — when you are stuck, the Blazer is what you bring to pull you out, not what you take into the deepest mud. The starter wagons are nimble enough to scout a line, find a sturdy tree, and back the winch cable out without snapping it. Lighter trucks also recover faster after a rollover because the roll-cage physics punish heavy frames first.
Mid-Game Recovery Workhorses
Once you have unlocked at least six vehicles (the threshold for the Collector achievement, earned by 12.9% of players), you can start using the heavier chassis as dedicated tow rigs. The K5 Blazer in particular is beloved for having a wide wheelbase, a strong factory winch motor, and enough clearance to plant itself on solid ground while pulling a lighter truck out of a creek bed. When players rank these on an over the hill cars tier list, the Blazer consistently sits in S or A tier for pure recovery utility, while the sportier 2-door coupes sit lower because their low ground clearance leaves them stuck in nearly every soft-soil event.
| Garage Slot | Example Vehicle | Best Use | Winch Strength | Recovery Rating |
|---|---|---|---|---|
| Starter Scout | Compact pickup | Scouting anchor points | Low | B |
| Mid-weight Crossover | Early SUV unlock | Mixed biome runs | Medium | B+ |
| Recovery Anchor | K5 Blazer | Towing others, deep mud | High | S |
| Heavy Hauler | Late-game 4x4 | Mountain switchbacks | High | A |
| Sport Coupe | 2-door classic | Paved road cruising | Low | C |
Over the Hill Winch Recovery Tips That Actually Work in the Field
The Steam achievements paint a clear picture: players who learn the winch quickly spend far less time reloading saves. Below are the Over the Hill winch recovery tips that experienced drivers swear by, drawn from community testing on the official Over the Hill Steam page and player threads.
Anchor Selection Beats Cable Length
The single most common mistake new drivers make is firing the winch toward the nearest object, even if that object is a small sapling that will uproot the moment tension peaks. Before you spool out any cable, walk the line in third person and look for one of three anchor types:
-
Mature hardwood trunks at least twice the diameter of your vehicle's tire width
-
Boulder shoulders with no loose scree on the side you are pulling toward
-
Man-made posts such as fence corners, bridge pylons, and the metal stakes near merchant camps
A short cable to a solid anchor is always stronger than a long cable to a sketchy one. If the only thing nearby is a thin tree, switch to your lightest truck and approach at a shallow angle so the winch motor does the work instead of the roots.
Approach Angle and Spool Tension
Once you have an anchor, line your vehicle up at roughly 30 to 45 degrees to the stuck direction, not straight on. Pulling dead-on builds a single load point and can flip a tall vehicle if the front lifts unevenly. A diagonal approach lets the front wheel step out of the rut while the winch drags the rear toward the anchor. Keep the spool at medium tension rather than max: a slow, steady pull is far less likely to snap the cable or shear the winch motor. If you hear a high-pitched whine, ease off for a second and let the line relax before re-tensioning.
Water and Rollover Recovery
The "Close Call" and "Back on Track" achievements are intimidating because the physics punish impatience. For a fully submerged truck, attach the winch to a high anchor (overhanging branch, bridge rail) before the cabin floods, and pull at a shallow upward angle. Trying to drive out of deep water without first securing the cable is the most common cause of total loss in Over the Hill rivers. For rollovers, kill the engine, shift to neutral, and look for the nearest uphill slope — winching back onto the wheels from above is far easier than trying to flip the chassis in place. Community testing shows drivers who follow this uphill-anchor pattern recover in one or two pulls, while those who try to roll the truck back onto its wheels often break a suspension part first.
| Stuck Scenario | First Action | Anchor Type | Recovery Time |
|---|---|---|---|
| Soft mud (axle deep) | Reverse-then-win | Hardwood trunk | 1–2 pulls |
| Deep water | Winch first, drive second | Bridge rail / branch | 2–3 pulls |
| Rollover on slope | Winch from uphill | Boulder / post | 1 pull |
| Snowdrift | Lay planks, then winch | Tree line | 2–4 pulls |
| Stuck on rock ledge | Winch downhill | Lower boulder | 1–2 pulls |
Over the Hill Garage Guide: Organizing Trucks for Recovery Duty
Knowing which truck to grab is half the battle. The other half is having the right vehicle in the right slot when trouble hits. This is where a proper Over the Hill garage guide pays off, because the game lets you assign roles to each bay rather than just shuffle paint jobs.
Bay Assignments That Match the Biome
Treat your garage like a workbench. The first bay should always be a scout — a low-weight, high-agility truck for trailblazing new routes and finding winch anchors before you commit. The second bay belongs to your recovery anchor (the K5 Blazer for most players), and the third bay is your heavy hauler for mountain passes and long-distance hauls. Cosmetic slots can rotate daily, but the first three bays should be locked to roles rather than moods. Players who follow this structure report fewer mid-run vehicle swaps, which matters because every swap costs you a short load screen and the loss of momentum on a steep grade.
Save Smart, Drive Bold
Over the Hill rewards drivers who save before risk, not after damage. A quick save right before a river crossing, a steep grade, or a known mud trap costs almost nothing and gives you a clean reset if the winch fails. Pair that habit with the Over the Hill gear guide so you always know what planks, repair kits, and spare fuel you are carrying. The combination of a planned loadout and a pre-risk save is what separates the 30.0% who pull off a "Close Call" from the rest, because they can afford to attempt the dramatic line knowing a reload is one button away.
| Bay | Role | Example Truck | When to Swap |
|---|---|---|---|
| 1 | Scout | Compact pickup | Rarely |
| 2 | Recovery anchor | K5 Blazer | Never (mission critical) |
| 3 | Heavy hauler | Late-game 4x4 | Per biome |
| 4–6 | Cosmetic / spare | Any unlocked vehicle | Daily |
| Workshop | Mod project | Current livery build | Weekly |
Comparing Over the Hill Vehicles for Recovery Performance
Recovery is not a single stat — it is a stack of attributes including weight, winch motor strength, wheelbase, and clearance. When you build an over the hill cars tier list focused on getting unstuck rather than racing, the rankings shift dramatically from the leaderboard-focused lists on community forums.
Weight vs. Agility Tradeoff
Heavy trucks carry more momentum, which helps them punch through soft mud without losing speed, but they also sink deeper when they finally do get stuck and they are harder to roll back upright. Lighter trucks float on top of snow and mud better, but their winch motors are weaker and their cables snap at lower tension. The sweet spot for most players is a mid-weight truck with a wide wheelbase — the K5 Blazer fits this profile almost perfectly, which is why it dominates the Over the Hill vehicle comparison discussions across community threads. If you are deciding between a sporty roadster and a chunky off-roader, choose the off-roader every time for any run that includes water, mud, or hills.
Winch Motor Tiers and Cable Durability
Every Over the Hill vehicle has a hidden winch motor rating that controls spool speed and peak pull force. Stock starter trucks have a Tier 1 motor with a thin cable that snaps at roughly 60% of the load a Tier 3 cable can handle. Upgrading the winch at a merchant camp is one of the best early spends, especially if you plan to explore mountain biomes where the recovery angles are steep. When shopping for upgrades, prioritize cable durability over spool speed: a slower but stronger line is more useful than a fast but fragile one. The Over the Hill merchants guide walks through the upgrade priorities so you do not waste early currency on cosmetic parts.
| Vehicle Class | Stock Winch Tier | Cable Durability | Recommended Upgrade |
|---|---|---|---|
| Compact starter | Tier 1 | Low | Tier 2 cable |
| Mid-weight SUV | Tier 2 | Medium | Tier 2 motor |
| K5 Blazer | Tier 2 | Medium-High | Tier 3 cable |
| Heavy hauler | Tier 3 | High | Tier 3 motor (optional) |
| Sport coupe | Tier 1 | Low | Skip — use as scenery |
Field Kit and Tool Prep: What to Carry Before Every Run
A winch is only as good as the kit that supports it. Planks, repair kits, and spare fuel cans turn a near-loss into a routine save, and the Over the Hill all tools breakdown shows exactly which items are worth the inventory slot.
The Three-Slot Recovery Loadout
Most players can only carry a few non-cosmetic tools at a time, so the loadout has to be intentional. A solid recovery kit looks like this:
-
Planks (x2): For bridging small gaps and giving tires something to grip when winching out of a rut
-
Repair kit (x1): For patching suspension damage after a rough pull
-
Spare fuel (x1): For long mountain detours where you may need to idle the engine while winching
Anything beyond those three slots is luxury until you have a fully upgraded garage. Early drivers who try to carry every tool often run out of fuel halfway up a mountain, which is a worse failure than running out of planks.
Pre-Run Checklist
Before leaving the garage, do a quick lap around the vehicle: check tire pressure (visual), confirm the winch cable has no frays, and verify you have at least one anchor tree marked on the map within a few hundred meters of your planned route. This 30-second habit is the single biggest predictor of whether a run ends at the destination or in a recovery screen. Community data from the Steam achievements suggests drivers who complete runs in fewer attempts also collect vehicles faster, because they spend less time rebuilding after losses and more time exploring the new biomes that unlock the next garage bay.
| Item | Slot Cost | When to Refill | Optional? |
|---|---|---|---|
| Planks | 1 | Every 2 runs | No |
| Repair kit | 1 | After any rollover | No |
| Spare fuel | 1 | Every mountain run | No |
| Extra cable | 1 | After Tier 2 unlock | Yes |
| Cosmetics | 1 | Never (mission) | Yes |
Frequently Asked Questions
What is the best vehicle for winch recovery in Over the Hill?
The K5 Blazer is widely considered the best recovery vehicle because of its wide wheelbase, strong stock winch, and balanced weight. It pulls lighter trucks out of mud and water reliably, and it stays stable on slopes while winching. New drivers should unlock it as soon as it appears in the rotation.
How do I avoid snapping my winch cable?
Always anchor to a hardwood trunk or boulder at least twice the width of your tire, and pull at a 30 to 45 degree angle rather than straight on. Keep spool tension at medium, and ease off if the motor whines. A slow steady pull is far safer than a fast jerky one, and upgrading to a Tier 2 or Tier 3 cable at a merchant removes most mid-pull snap risk.
Can I recover a fully submerged truck?
Yes, but you must attach the winch before the cabin floods. Aim for a high anchor such as an overhanging branch or bridge rail, and pull at a shallow upward angle. This is exactly the scenario behind the "Close Call" achievement, which only 30.0% of players earn, so treat submerged trucks as a winch-first problem rather than a drive-out problem.
Should I save before every risky crossing?
Yes. Quick saves are nearly free in Over the Hill, and reloading after a failed pull is faster than walking back to a garage. Pair saves with a planned anchor point and a mid-weight truck so you can attempt the dramatic line without risking the whole run. Most experienced drivers quick-save right before any water crossing, mud pit, or steep grade.
Is the K5 Blazer worth unlocking early?
Absolutely. The Blazer functions as both a daily driver and a dedicated tow rig, which makes it the most versatile unlock in the mid-game. If you are building an Over the Hill cars tier list around recovery rather than speed, the Blazer sits in S tier and stays there even when heavier trucks arrive later.