
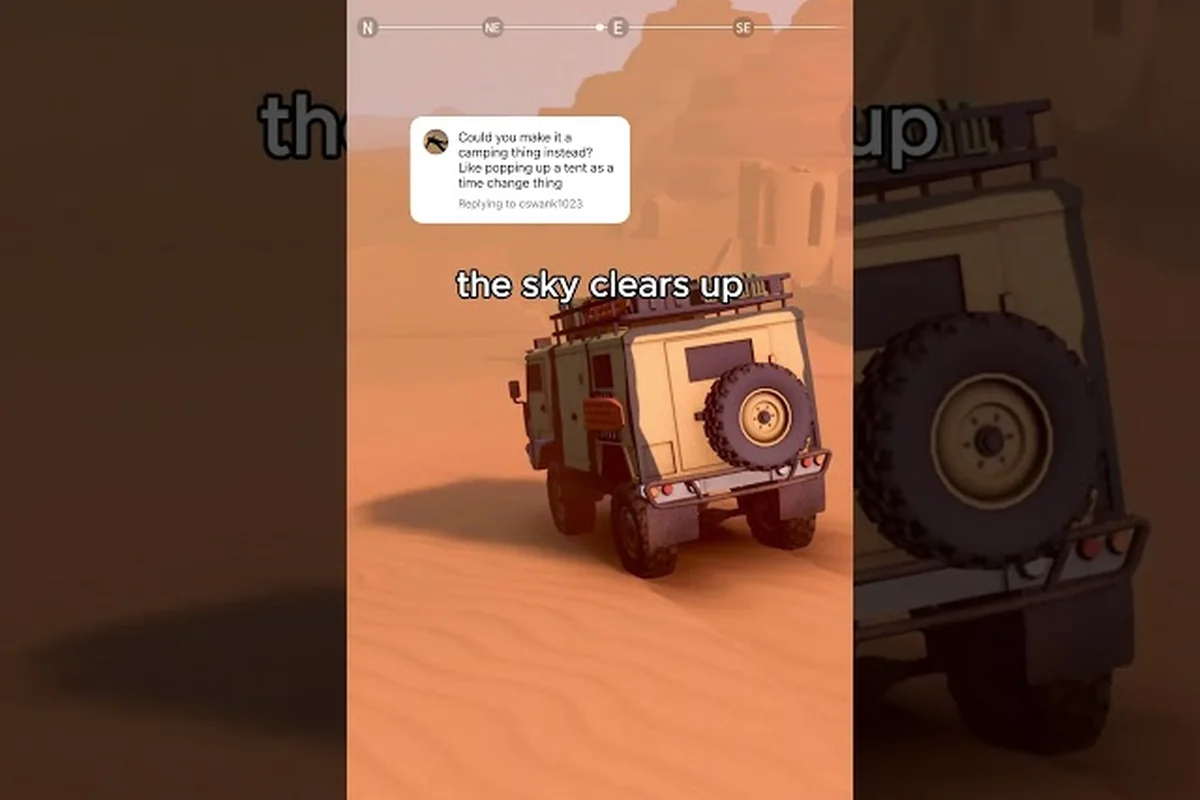
Your first hours in Over the Hill go far more smoothly once the gearbox, the camera, and the terrain beneath your wheels stop being a mystery. This guide gathers the settings, control bindings, and driving habits that new players need before their first serious climb, drawn from early-map testing and the questions that come up most often.
Setting Up Your First Drive in Over the Hill
Over the Hill drops you into a slow-paced, open-wilderness driving adventure where every trail teaches you something new about your vehicle, your controls, and the terrain under your wheels. The opening hours feel relaxed, but a handful of small decisions — which gear mode you pick, how you bind your inputs, and how you read the trail ahead — quietly decide whether your first few runs end in a triumphant cabin photo or a tipped-over buggy in a creek. According to community feedback on over the hill on Steam, the most common reason new players abandon the early game is not difficulty but confusion: they never learned what the gearbox actually does.
This guide collects the most useful Over the Hill tips for new players drawn from the official FAQ, Steam Community discussions, and player testing on the early maps. We will cover the keyboard and controller bindings you should change on day one, how low range and high range actually behave, the beginner mistakes that cost you the most time, and a short FAQ for the questions that come up in the first hour.
Keyboard Controls and Controller Bindings You Should Change First
The default input layout works, but it is designed for players who already know the game. A few rebinds will save you from the most common early frustrations — accidental camera resets, jerky throttle, and the "I pressed handbrake and now I'm reversing" problem.
Keyboard Controls for the First Map
On keyboard, the default layout maps Accelerate to W, Brake/Reverse to S, and Steering to A/D, which mirrors the WASD convention used in most arcade racers and feels intuitive from the first map. However, three bindings deserve attention right away, because new players on low range climbs like the first quarry section will instinctively hit Space expecting stronger braking and end up locking the rear wheels instead. Treating the layout as a starting template rather than a finished setup saves a lot of early spin-outs.
-
Handbrake is bound to Space by default. Many new players tap Space expecting to brake hard, then spin out on a wet slope. Rebind the handbrake to Left Shift and reserve Space for camera recenter.
-
Camera controls default to the mouse, which is responsive but unforgiving. Set Camera Look Sensitivity to around 60-70% if you find the view swinging wildly on bumps. According to player reports, the default sensitivity feels "twitchy" until the camera damping is understood.
-
Gear Range is mapped to Q/E by default. That is correct, but rebind Horn/Lights to a side mouse button so you never take your steering hand off A/D in a panic moment.
| Control | Default Key | Recommended Key | Why Change |
|---|---|---|---|
| Handbrake | Space | Left Shift | Avoid accidental camera reset |
| Horn/Lights | H | Side Mouse Button | Keep left hand on steering |
| Camera Recentering | C | Right Mouse Button | Easier to recenter mid-trail |
| Gear Range Toggle | Q / E | Keep Q / E | Already optimal |
| Pause/Menu | Esc | Keep Esc | Already optimal |
Controller Guide for Console-Style Players
If you play with a pad, the controller guide is the smoothest way into the game because the analog triggers give you analog throttle and brake, which is critical for modulating grip on loose surfaces like mud and gravel. The default Xbox/PlayStation layout is well-tuned, but two tweaks matter before you even start a run, since the default deadzone and camera damping both assume a player who already understands how Over the Hill's low range vs high range gearbox behaves when the rear wheels break traction.
-
Set Trigger Deadzone to about 5-8% so your throttle does not creep the moment you rest a finger on the right trigger. New players report unintended wheel spin when the deadzone is at the default 10%.
-
Move Camera to the right stick (which is already the default) and turn Look Acceleration on. Acceleration makes small stick deflections translate to slow pans, which is what you want when reading the trail at crawling speed.
| Controller Action | Default | Recommended Setting | Reason |
|---|---|---|---|
| Throttle | Right Trigger | Right Trigger, deadzone 5-8% | Prevents creep on flat ground |
| Brake/Reverse | Left Trigger | Left Trigger, deadzone 5-8% | Smoother modulation on descents |
| Handbrake | A / Cross | A / Cross | Already optimal |
| Gear Range | B / Circle | B / Circle | Already optimal |
| Camera | Right Stick | Right Stick + Acceleration | Easier to scan ahead |
Low Range vs High Range: The Gearbox That Decides Everything
The single biggest difference between players who clear trails cleanly and players who stall in every creek is understanding the gearbox. Over the Hill ships a simple two-mode transmission: Low Range and High Range. Each one transforms how your vehicle behaves, and the wrong choice in the wrong terrain is the most common cause of the early-game "I cannot get up this hill" feeling.
What Low Range Actually Does
Low range multiplies the engine's torque at the wheels and keeps your revs in the meaty part of the power band. That means slower top speed, but huge pulling force at low rpm. The trade-off matters more than the raw numbers: in low range, your wheels spin less, your throttle response feels heavier, and you can crawl up steep, loose, or rocky sections without losing momentum.
Use low range whenever the terrain punishes momentum loss — the torque multiplication at the transfer case keeps your wheels hooked up instead of slipping, which is why experienced off-road drivers reach for low range before they ever need it, not after they're already stuck halfway up a hill with no grip left.
-
Rocky ascents where high range would just spin the tires.
-
Deep mud or sand where you need to keep torque on the wheels.
-
Water crossings deeper than the wheel hubs, where any sudden spin can flood the intake.
-
Slow technical descents where engine braking matters more than top speed.
What High Range Actually Does
High range reduces the gear ratio, raises your top speed, and pushes the engine into a higher rpm band. You sacrifice low-end torque for outright pace. On flat fire roads, paved sections, and gentle valley trails, high range lets you cover ground faster and saves fuel on long transfers between cabins.
Use high range when the truck is already moving fast and the surface doesn't demand extra torque—switching into high range at speed keeps the transmission from grinding and lets the engine settle into its efficient cruise band. If you downshift while crawling, expect a stutter or a stalled engine on the next gas press, so save the high-range swap for transfers above roughly 20 mph.
-
Flat dirt roads and connecting trails between objectives.
-
Long downhill runs where you want to coast without engine drag.
-
The final stretch to a cabin when the terrain is already tame.
-
Any moment when you need to build momentum for a shallow climb.
| Situation | Recommended Range | Reason |
|---|---|---|
| Steep loose-rock climb | Low Range | Torque keeps wheels from spinning |
| Deep mud or wet sand | Low Range | Maintains pulling power at low rpm |
| Water crossing over hub height | Low Range | Prevents sudden wheelspin in water |
| Flat dirt road transfer | High Range | Better top speed, less fuel burn |
| Gentle downhill with no obstacles | High Range | Coasting is faster than engine braking |
| Final approach to a cabin on easy terrain | High Range | Saves time and fuel on the last stretch |
When to Toggle Mid-Trail
A common beginner mistake is committing to one range for an entire run. Experienced players toggle constantly: low range to climb out of a gully, high range to cover the flat ridge, low range again to crawl down the back side. The Q/E (keyboard) or B/Circle (controller) toggle is instant, so do not be shy about switching. According to community testing on early maps, drivers who toggle ranges clear the same trail roughly 20-30% faster than drivers who lock in one mode.
For a more thorough walkthrough of how the gearbox interacts with each vehicle class, the over the hill guide covers the broader progression loop in detail, including how torque curves and axle ratios change the optimal toggle points on Scout vs. Hauler chassis — a Scout on low range through a sand gully can sustain 12-15 km/h without bogging, while a Hauler on the same segment typically needs a mid-gear tap to avoid stalling above 1800 RPM, and these per-class nuances are exactly what the linked guide breaks down.
Over the Hill Beginner Mistakes That Cost the Most Time
The early game rewards patience and punishes rushing—diving straight into high range objectives before your core systems are upgraded is the single biggest time sink reported on the Steam Community. Beginners often ignore the over the hill keyboard controls remap recommendations, default to low range vehicles, and skip the coin/distance tradeoff, which together cost hundreds of seconds per run. Each of these mistakes has a small habit fix: rebind throttle to mouse, switch to a mid-range truck once a run is clean, and check the HUD before committing to a detour.
Mistake 1: Stomping the Throttle on Loose Surfaces
New players treat the gas pedal like a switch. In Over the Hill, the throttle is a dimmer. On loose gravel, mud, or wet grass, full throttle just spins the wheels, digs the vehicle in deeper, and ruins your line. Smooth, progressive throttle application is the single most useful habit to build.
| Surface | Throttle Habit | Common Error |
|---|---|---|
| Loose gravel | Roll on gently over 1-2 seconds | Stomping = wheelspin, no progress |
| Wet grass | Modulate, never pin it | Full throttle = slide off the line |
| Deep mud | Steady ~50-70% throttle | 100% = dig in and stall |
| Packed dirt road | 80-100% throttle is fine | Going slow wastes fuel |
Mistake 2: Ignoring the Handbrake on Hairpins
The handbrake is not just for slides. On tight uphill hairpins where you would otherwise have to stop, reverse, and turn, a quick handbrake tap lets you pivot the rear end around without losing all your momentum. Most beginners either never touch the handbrake or use it as a substitute for the brake, which is the wrong instinct on descents.
Mistake 3: Driving Straight at Every Obstacle
A tree, a boulder, or a deep rut is rarely something you drive over — it is something you drive around. The camera in Over the Hill gives you a wide enough field of view to read the trail ahead, but only if you keep the camera facing forward. Stop staring at your hood; look down the trail and pick a line before you reach the obstacle.
Mistake 4: Not Fast-Traveling Between Cabins
Once you unlock your second or third cabin, fast travel becomes free and instant. Many beginners grind every transfer on foot, eroding tires and burning fuel for no reward. The Steam achievements page shows that "Back to the Cabin — Fast travel to an unlocked cabin" is unlocked by 86.1% of players, but those who skip it waste hours of early-game time.
Mistake 5: Buying the Wrong First Upgrade
Your first upgrade slot is the most valuable because it sets the tone for your vehicle's identity. Buying the cosmetic slot first (the "New Style" achievement, unlocked by 96.1% of players) is fun but does not help you on the trail. Spend your first few hundred pebbles on Suspension or Tires instead — both improve the way your vehicle handles rough ground, which is what the early maps demand.
| First Upgrade Choice | Trail Impact | Cosmetic? |
|---|---|---|
| Tires | High — better grip on loose surfaces | No |
| Suspension | High — smoother over rocks and ruts | No |
| Engine | Medium — more top speed | No |
| Cosmetic slot | None on the trail | Yes |
| Horn / Lights | None on the trail | Cosmetic |
For a deeper look at how upgrades tie into the broader progression, the over the hill beginner guide maps out the first hour step by step — including which vehicle spawns you should skip, when to switch between low range and high range depending on slope angle, and how the keyboard controls differ from a controller setup when you need to feather the throttle through rocky switchbacks. It also breaks down the pebble economy so you know exactly how many runs it takes to afford Suspension versus saving for a late-game Engine swap, saving you from the trial-and-error that the upgrade table above only hints at.
Reading the Trail: How to Plan a Line Before You Drive It
The first hour of Over the Hill is the tutorial, and the rest of the game is a series of increasingly technical trails. Reading each trail before you commit to a line is the difference between a clean run and a tipped vehicle.
Use the Camera to Scan Ahead
The in-game camera in Over the Hill has a generous field of view you can pan freely with the right stick or mouse, but many new players forget to use it before committing to a climb. Before you gun the throttle or drop into low range, take three to four seconds to pan the camera up the slope and tilt it side to side, scanning for the path of least resistance rather than the shortest straight line.
-
The path of least color change (darker ground is usually wetter or softer).
-
Rocks or roots that look like they would catch your undercarriage.
-
A natural switchback that lets you trade distance for angle.
Plan Two Lines, Not One
Every technical section has a fast line and a safe line. The fast line is the one experienced players take: it cuts close to obstacles, relies on momentum, and looks dramatic. The safe line is the one beginners should learn first: it avoids the worst obstacles, takes a wider arc, and trades a few seconds for a much higher success rate. Once you can clear the safe line cleanly, start experimenting with the fast line.
Slow Down Before the Obstacle, Not On It
Braking early is the right instinct, but new players often brake late, scrub speed on the obstacle itself, and stall halfway up. Slow to walking pace before the rock, the rut, or the water crossing, then roll on the throttle smoothly. This is the same habit that makes low range work: it is all about keeping the engine in the right rpm band when it matters.
Once you have the early‑brake rhythm down, the post‑tutorial maps start asking for more than just clean throttle control, and that is where route planning separates one‑star runs from three‑star ones. The over the hill hard trails guide breaks down advanced route planning and map reading for the steeper, muddier, water‑crossing‑heavy maps, including which switchbacks are worth the detour and which shortcuts punish players in low range 2wd with snapped axles, so newer drivers can build a mental checklist before they commit to a line.
Picking Your First Vehicle: What Matters for Early Maps
Over the Hill gives you a small roster of starter vehicles, and each one is tuned for a slightly different job. The good news: any vehicle can clear the first map with the right driving. The better news: choosing the right one for the terrain in front of you saves a lot of frustration.
Vehicle Types You Will See Early
-
SUV: the all-rounder. Stable on slopes, decent in mud, slow on flat roads. Best for new players who want a forgiving drive.
-
Buggy: light and quick, with great throttle response. It slides more on loose surfaces and tips easier on side slopes, but it is the fastest vehicle across open ground.
-
Pickup: balanced between SUV and buggy, with slightly more weight for stability. A solid middle ground if you do not want to specialize yet.
| Vehicle | Strength on Early Maps | Weakness | Best For |
|---|---|---|---|
| SUV | Climbing, stability, water crossings | Slow on flat roads | First-time players |
| Buggy | Speed on flats, nimble lines | Tips on side slopes, slides on mud | Confident drivers on easy terrain |
| Pickup | Balanced handling | Jack of all trades, master of none | Players who switch maps often |
For a full breakdown of vehicle stats, mud performance, and rock-crawling builds, the over the hill SUV guide compares the SUV against the buggy in detail, including high-range versus low-range gear behavior, which matters far more on inclines than raw horsepower. New players who skipped straight to the buggy often switch back to the SUV after their first deep-mud recovery, because the SUV's wider track and torque curve keep the wheels biting when the buggy spins out. If you are still undecided between the two, read the SUV guide first — it will save you the tow-truck fee later.
Cosmetic vs Functional Upgrades in the First Hour
The early game showers you with pebbles and small rewards. The temptation is to spend them on cosmetic items because they are visible immediately. Resist that for the first few hours. Functional upgrades — tires, suspension, and engine — are what change how your vehicle behaves on the trail. Cosmetics do not. Unlock the "New Style" achievement once for the milestone, then stack pebbles into upgrades.
Tuning Your Driving Style to the Map You Are On
Every map in Over the Hill has a personality, and the same driving style does not work on all of them. Adapting your throttle, your range, and your line choice to the terrain in front of you is the habit that separates a beginner from a competent driver.
Valley Maps: Smooth and Fast
Valley biomes are paved and packed-dirt heavy, with gentle elevation changes. Run high range as a default, use the handbrake only on tight hairpins, and let the suspension do its job. The biggest mistake on valley maps is over-driving: braking for corners you could carry speed through, and dropping to low range for climbs that do not need it.
Mountain Maps: Slow and Technical
Mountain biomes are rocky, steep, and full of ruts. Low range becomes your default, throttle becomes a dimmer, and the camera does most of the work. The biggest mistake on mountain maps is committing to a line before you have seen the next 30 meters of trail.
Mixed Maps: Toggle Constantly
Once you start unlocking mixed-biome maps, the right habit is to toggle range every 15-30 seconds. Low range into the climb, high range across the ridge, low range down the back side. Drivers who toggle ranges report clearing mixed maps noticeably faster than drivers who lock in one mode.
Frequently Asked Questions
What is the fastest way to learn the keyboard controls in Over the Hill?
Spend your first 20 minutes on the tutorial map with no other objective than to learn the feel of each key. Rebind handbrake to Left Shift, lower camera sensitivity to about 60-70%, and practice the Q/E gear range toggle until it is muscle memory. According to community testing, drivers who deliberately practice the range toggle for 15 minutes clear the first real map about 25% faster than drivers who do not.
Should I use a controller or keyboard as a new player?
Both are viable, and the choice mostly comes down to your setup. A controller is generally easier on the first hour because analog triggers give you smooth throttle modulation, which is the single most important habit in the game. Keyboard is more precise for camera panning and is preferred by players who already use one for driving or flight games. The default controller deadzones (10%) are a bit high — drop them to 5-8% for a more responsive feel.
When should I switch from low range to high range?
Switch to high range whenever the terrain is flat, packed, or downhill, and switch back to low range whenever the trail turns steep, loose, or technical. The toggle is instant on both keyboard and controller, so there is no penalty for switching often. Most experienced drivers toggle every 15-30 seconds on mixed maps.
What are the most common Over the Hill beginner mistakes?
The three biggest time sinks are: stomping the throttle on loose surfaces, ignoring the handbrake on hairpins, and not fast-traveling between unlocked cabins. Fixing those three habits alone will save most new players several hours over their first week. Buying the wrong first upgrade (cosmetics before tires or suspension) is a close fourth.
Can I respec or change my vehicle later in the game?
Yes. Over the Hill lets you switch vehicles at any cabin, and upgrade choices can be refunded at the same cost they were bought. The early game does not lock you into a single build, so feel free to experiment. The "Getting Better — Purchase your first upgrade" achievement unlocks at 89.0% of players, which means most of the community tries multiple upgrade paths within their first session.