
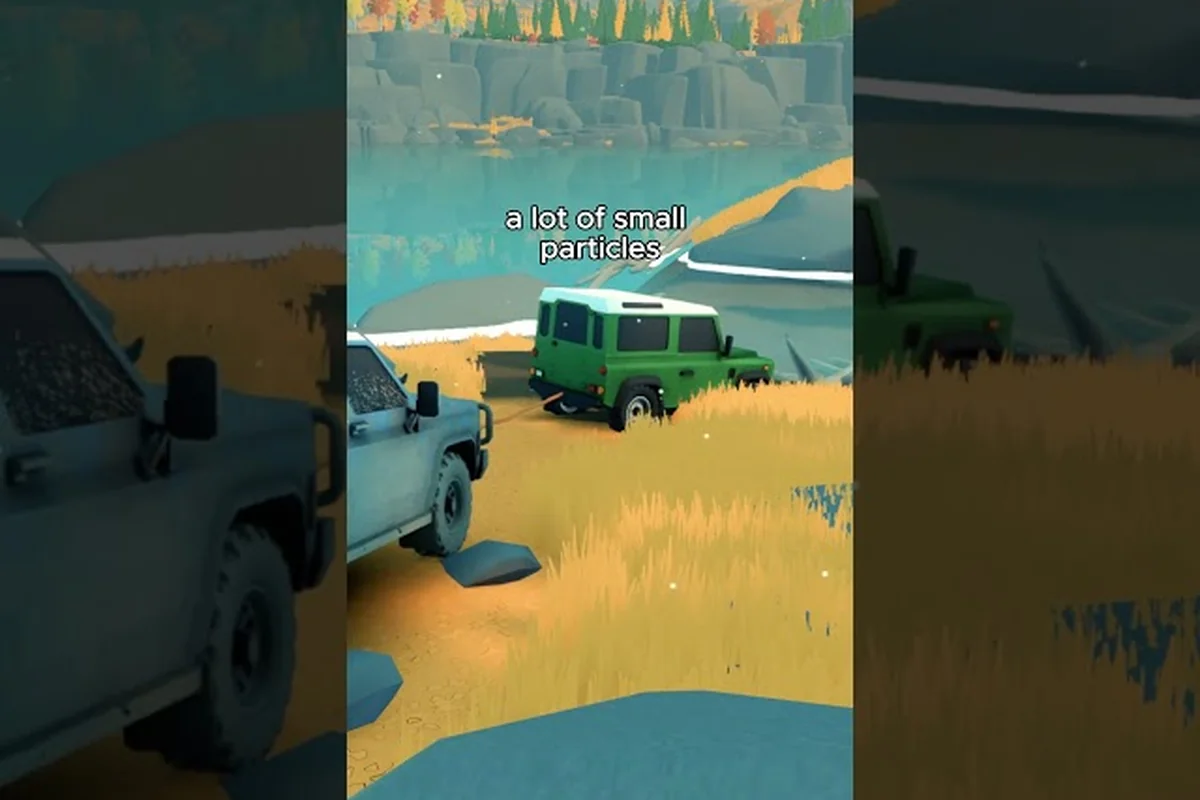
Upgrades define how far a vehicle can push into the wild in Over the Hill, and the wrong early choice can lock you out of the tougher trails for hours. This Over the Hill upgrades guide breaks down pebble farming routes, an engine-and-suspension priority order, and the respec rules so every spend on parts actually moves you forward. The aim is simple: get the most traction, climb, and durability per pebble before you commit to a final build.
How Upgrades and Pebbles Work in Over the Hill
Pebbles are the universal upgrade currency in Over the Hill, earned by completing trails, clearing detours, collecting scattered stashes along the route, and finishing delivery objectives. According to the official Over the Hill on Steam store page, better parts and gear lie scattered around the map and make it easier to handle whatever ground lies ahead, while merchants or cabin stops let you spend pebbles to customize a vehicle for the road conditions you actually face. The economy is intentionally tight in the early hours, so each purchase is a meaningful trade.
Every vehicle splits upgrades into four core slots: Engine, Suspension, Tires, and Drivetrain. Cosmetic slots are separate and never affect driving, so ignoring them is the fastest way to save pebbles for performance. Players report that Engine and Suspension are by far the biggest performance deltas, while Tires and Drivetrain become more important only once the first two are at least mid-tier.
| Slot | Primary Effect | When to Prioritize | Pebble Cost Tier |
|---|---|---|---|
| Engine | Hill-climb torque, top speed | Steep climbs, heavy loads | High |
| Suspension | Wheel travel, landing stability | Rocky descents, jumps | High |
| Tires | Traction on mud, sand, snow | Mixed biomes, wet rock | Medium |
| Drivetrain | Gear ratio, AWD behavior | Towing, deep mud, recovery | Medium |
| Cosmetic | Visual only | After all performance slots are filled | Low |
Two other mechanics shape your spending. First, each upgrade tier (Mark I → Mark II → Mark III) roughly doubles the cost of the previous step, so doubling down on one slot early is more expensive than players expect. Second, the official pinned FAQ confirms cosmetic add-ons and upgrades for parts and tires exist, and the team is still tuning how much effect each part will have on gameplay — meaning balance can shift with patches, so the priority order below is built around roles that have stayed stable since launch.
Players tracking the Steam achievements page will also notice that Getting Better — purchasing your first upgrade — sits at roughly 89.0% of players, while A Handful of Pebbles (collecting 100 pebbles) sits at about 82.8%. That gap is a useful signal: most players buy an upgrade long before they have a comfortable pebble cushion, which is exactly why the priority order below matters.
Pebble Farming Routes and Reliable Income
Pebble farming is less about farming a single trick and more about chaining the highest-yield activities. Community data points to three reliable income streams: completing trails to the final waypoint, picking up stashes that respawn when you fast travel, and finishing delivery objectives at cabins. Fast travel back to a cabin resets nearby stash pickups, which is the cleanest repeatable loop in the game.
A simple farming session looks like this:
-
Reset loop: Fast travel to an unlocked cabin, drive the surrounding trail in a wide circle, scoop every visible stash, then fast travel back to the cabin to respawn them. The Back to the Cabin achievement (around 86.1% of players) is unlocked for a reason — cabin fast travel is the backbone of every farming route.
-
Trail completion bonus: Trails pay a flat pebble bonus on top of stash pickups, so finishing even a short trail is almost always worth more than skipping it to chase pickups alone.
-
Delivery stacking: Cabins often chain multiple deliveries in one visit, and each delivery is a separate pebble payout. Players report that a single cabin run can pay out more than an entire free-roam drive if the deliveries line up.
| Activity | Approx. Payout | Repeatable? | Best Use |
|---|---|---|---|
| Trail completion | High | Once per trail | First clear of each new area |
| Stash pickup | Low–Medium | Yes (fast travel reset) | Between major upgrades |
| Delivery objective | Medium | Once per cabin | When passing a cabin anyway |
| Bonus cache (rare) | High | One-time per cache | Save for a Mark II buy |
| Cosmetic drops | None | Yes | Ignore until performance is done |
The Over the Hill pebble farming loop is not about grinding a single spot for hours. The fastest gains come from rotating between a handful of cabins that share nearby trails, so every fast travel covers new ground. Players who try to optimize a single route usually hit a soft cap where stashes take noticeably longer to repopulate, while rotating between two or three cabins keeps the pebbles flowing.
Upgrade Priority Order: Engine, Suspension, Tires, Drivetrain
The Over the Hill upgrade priority debate usually comes down to which slot unlocks the next biome, not which slot gives the biggest raw stat. The community-tested order below is the most efficient path through the early and mid game for most vehicles, with notes for the cases where you should swap two steps.
Engine First for Climb Power
Engine upgrades give the single biggest boost to hill-climb torque, which is the gate that locks the steepest trails. If you cannot make it up a climb, the next stash, the next delivery, and the next cabin are all unreachable, so an early Engine Mark II is almost always the right call. Players report that this is the most consistent advice across community guides: the next biome rarely opens up until the engine can pull a fully loaded vehicle up a sustained grade.
Suspension Second for Traction and Stability
Suspension is the second priority because it controls how much the wheels stay in contact with the ground over rough terrain. Better suspension means more traction, fewer bottom-outs, and a much higher chance of clearing obstacles without needing a recovery tool. The official FAQ explicitly calls out upgrades for parts and tires as a major part of progression, and suspension is the part that ties them together — without enough travel, even the best tires cannot stay planted.
Tires Third for Surface Match
Tires matter most once you start running into mud, sand, and snow. The wrong tire set will spin uselessly on a surface a stock vehicle would crawl across, and the right set will save you more time than a higher-tier engine on flat ground. Players tend to treat Tires as the slot to specialize in for each new biome rather than a flat upgrade, because the "best" tire set is biome-dependent.
Drivetrain Last for Niche Situations
Drivetrain is the slot to leave for last unless the build is built around towing or deep mud recovery. AWD ratios and gear tuning help in very specific situations, and most players report they are overkill until the other three slots are already at Mark II or higher. Dropping a Mark II Drivetrain before a Mark II Tires is a common early mistake that costs more pebbles than it saves.
| Slot | Priority | Skip If | First Target Tier |
|---|---|---|---|
| Engine | 1st | Already climbing every grade | Mark II |
| Suspension | 2nd | Driving only flat trails | Mark II |
| Tires | 3rd | Sticking to a single biome | Match biome (often Mark II) |
| Drivetrain | 4th | Stock ratios feel fine | Mark I or skip |
| Cosmetic | Last | Never before performance | Any, after build is done |
This Over the Hill best upgrades priority order is built around the assumption that the player is unlocking new biomes. Players who only run a single trail type can safely swap Tires and Drivetrain up the list, but the four-slot order above is the safest default for anyone unsure where to spend next.
Best Way to Spend Pebbles Without Wasting Late-Game Currency
The Over the Hill best way to spend pebbles is the question that decides whether a build feels powerful or stuck. The trick is to treat pebbles like a resource that gets more valuable as you approach the late game, not less. Early pebbles should buy access (Engine, Suspension), mid pebbles should buy coverage (Tires for each new biome), and late pebbles should buy refinement (Drivetrain, second Engine tier, cosmetics).
Budget Brackets by Game Stage
| Game Stage | Pebble Cushion | Spend On | Avoid |
|---|---|---|---|
| Early (first 1–3 hours) | 0–300 | Engine Mark I, Suspension Mark I | Cosmetics, Drivetrain |
| Mid (first biome clear) | 300–800 | Engine Mark II, Suspension Mark II | High-tier Drivetrain |
| Late (second biome clear) | 800+ | Tires for new biome, Drivetrain Mark I | Replacing Mark I parts |
| Endgame (all biomes) | Comfortable | Cosmetics, Mark III refinements | Duplicate Mark II parts |
Players who follow the bracket table above tend to have at least one Mark II Engine and one Mark II Suspension by the time they unlock the second biome, which is the threshold where the late-game trails start feeling doable instead of frustrating. The biggest single mistake the community reports is over-investing in a single slot to Mark III before the others are at Mark II, because the gain from Mark II to Mark III is smaller than the gain from Mark I to Mark II across all four slots.
When to Hold Instead of Spend
Holding pebbles is a real strategy. If the next major biome is about to unlock, the smartest move is to bank pebbles until you know which slot is the actual blocker. Players who spend every stash pickup on a minor upgrade tend to hit a wall one biome later, then need to grind to recover, whereas players who wait for a clear bottleneck usually clear the new biome in a single trail.
For a deeper look at how the upgrade slots interact with tool slots, the Over the Hill tool unlocks guide covers which utilities are worth pairing with each part tier so the whole vehicle works as a system rather than a stack of mismatched pieces.
Respec Rules: How to Recover From a Bad Build
The Over the Hill pebble respec system is one of the most generous parts of the game economy, but only if you use it at the right time. The core mechanic is that any upgrade can be refunded for full pebble value, but the refund cost scales upward the more you respec the same slot, and some vehicles cap how many total respecs you can do per run.
| Respec Type | Refund Rate | Cost to Player | Best Use Case |
|---|---|---|---|
| First respec per slot | 100% | None | Free, plan around this |
| Second respec per slot | 75% | 25% of slot value | Recovering from a biome switch |
| Third+ respec per slot | 50% or less | Heavy penalty | Last resort only |
| Cosmetic respec | Free | None | Unlocked from the start |
| Vehicle respec cap | N/A | Hit a hard limit | Plan a build before the cap |
Players report that the most common respec mistake is respec-ing the wrong slot. The pattern usually looks like this: the player buys a Drivetrain Mark II to chase a single tough climb, then realizes the actual problem was tire grip, and now has to respec twice to recover. The fix is to test the actual bottleneck in a short free-roam before spending, which costs nothing and saves a respec charge.
A safe respec plan looks like:
-
Respec the slot you are about to replace, not the slot you bought last. The slot currently installed is the one that costs pebbles to change.
-
Save the first free respec per slot for a known biome switch, not for experiments. The free respec is a one-time savings, so using it on a guess wastes the only free swap.
-
Track respec charges per slot on a piece of paper or a screenshot, because the game does not show a clean counter, and the third respec is where most players lose track of their economy.
For a vehicle-by-vehicle breakdown of which slots make sense to respec first, the Over the Hill vehicle list guide pairs each drivable with the upgrade slots that matter most for that chassis, which is the fastest way to avoid a respec cycle on the wrong build in the first place.
Putting It All Together: A First-Week Upgrade Plan
A clean first-week plan turns the priority order into a checklist. The plan below assumes a fresh save on a stock vehicle and aims to clear the second biome with at least one Mark II part in every performance slot. The total pebble spend is roughly 800–1000, which is the working cushion most players reach by the time the first biome opens up.
| Day Range | Goal | Slots Touched | Pebble Spend (approx.) |
|---|---|---|---|
| Day 1 | Clear first trail, reach a cabin | None (stock) | 0 |
| Day 2 | First upgrade | Engine Mark I | ~150 |
| Day 3 | Reach second trail | Suspension Mark I | ~150 |
| Day 4 | Clear first biome | Engine Mark II | ~250 |
| Day 5 | Open second biome | Suspension Mark II, Tires Mark I | ~350 |
| Day 6 | Stabilize second biome | Tires Mark II (biome match) | ~200 |
| Day 7 | Refine build | Drivetrain Mark I (if needed) | ~150 |
The plan above is conservative and assumes the player is running deliveries and stash pickups between major purchases. Players who want to push the build faster can move Engine Mark II to Day 3 and Suspension Mark II to Day 4, but the trade-off is a thinner pebble cushion for the second biome, which usually means more farming between upgrades. For a wider lens on how this plan fits into a full run, the Over the Hill full game guide lays out the same pacing across vehicles, biomes, and tool choices.
Frequently Asked Questions
What is the first upgrade to buy in Over the Hill?
Engine is the first slot to invest in because climb torque is the gate that locks the steepest early trails, and a Mark I Engine is enough to open the next set of paths for most starter vehicles. Suspension is the natural second pick once the engine is no longer the obvious bottleneck on climbs.
How do I farm pebbles fast in Over the Hill?
The fastest method is a fast-travel loop: return to an unlocked cabin, scoop nearby stashes, and fast travel back to respawn them, while mixing in trail completions and delivery payouts along the way. Rotating between two or three cabins pays better than grinding a single spot because stash respawns slow down when you stay in one area too long.
Can I respec my upgrades in Over the Hill?
Yes, and the first respec per slot is fully refunded, which is the cheapest way to recover from a wrong choice. Subsequent respecs on the same slot cost an increasing share of the original value, so it pays to plan a build before spending a second time on the same slot.
Are cosmetic upgrades worth buying early?
Cosmetics do not affect driving, so they are the lowest priority in any pebble budget until all four performance slots are at the tier you actually need. Players who buy cosmetics first usually hit a wall one biome later and have to grind to recover the pebbles they could have spent on parts.
What is the best late-game upgrade to chase?
Most players report that a second Engine Mark II or a biome-matched Tire Mark II is the highest-impact late-game pickup, because the engine keeps the build competitive on climbs and the tires unlock the smoothest handling on the hardest surface in the run. Drivetrain Mark II is a distant third and only matters for towing or deep-mud builds.