
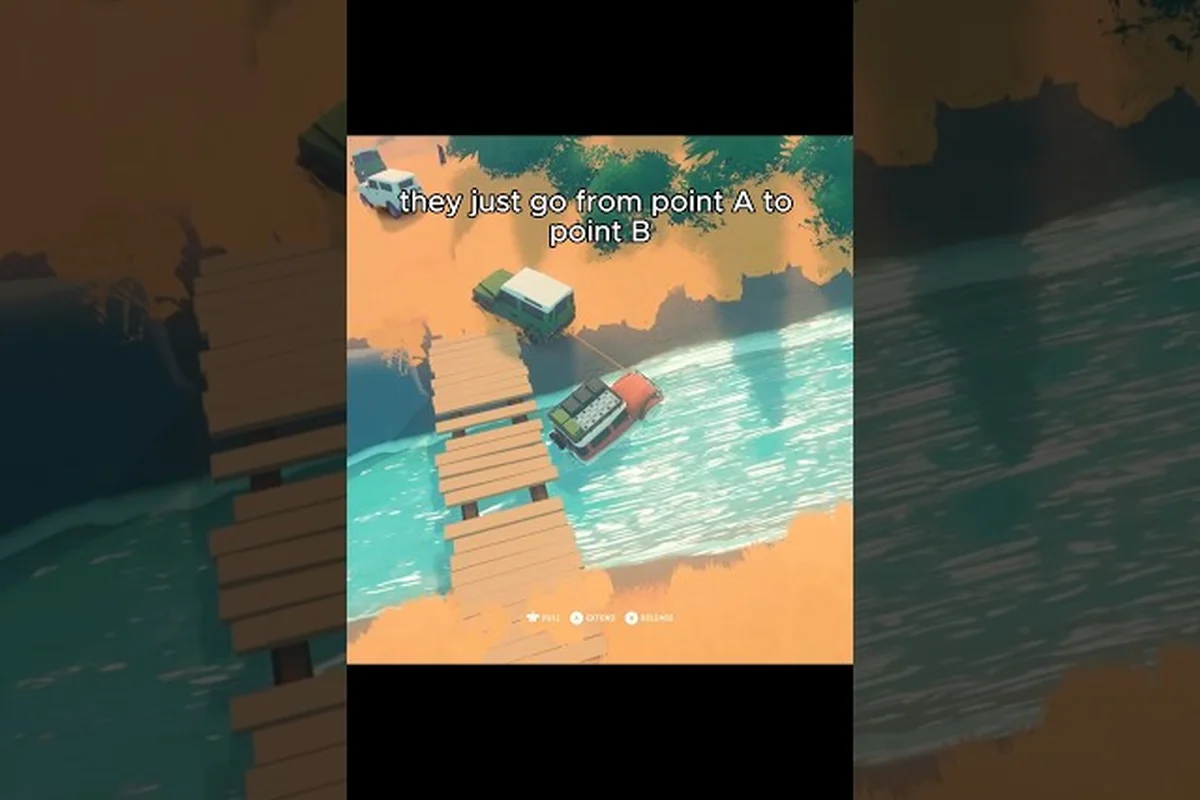
Over the Hill map completion is the long-form objective that ties every region together, and the fastest way to convert raw exploration into tangible unlocks. Every biome on the map hides its own checklist of points of interest, crates, pebbles, and rare meteorite events, and finishing each one stacks passport progress that feeds the rewards track. Players who skip the grind often return to a region later, only to discover they missed a meteorite window that won't reopen for hours.
This guide breaks down how the completion system works, how many collectibles each region hides, and how to chase rare events without burning an entire evening on a single biome. The official Over the Hill on Steam page frames the game as an open-ended wilderness ramble, so the completion grind rewards drivers who plan their route rather than sprint in random directions. A solid understanding of the layered reward structure turns a casual drive into a focused completion run.
How the Over the Hill Map Completion System Works
The map completion system is region-based, and each region tracks its own internal checklist. As you discover points of interest, pick up crates, smash pebbles, and extract meteorites, the region counter ticks up, and a passport-style progress bar fills in the corner of the map screen. According to community data scraped from the official achievements page, only 43.8% of players have triggered the Explorer achievement for discovering 20 points of interest, which means a clear majority of drivers are still leaving real progress on the table.
When a region hits 100%, a completion stamp appears, and the next stage of the rewards track unlocks. The transition is automatic: you don't need to return to a hub or talk to an NPC, the game simply acknowledges the milestone and pushes the next objective into your log. This is why many players don't realize they've already qualified for a reward until they happen to glance at the region summary.
The Three Layers of Region Progress
Every region tracks three distinct progress layers, and they don't always fill at the same rate. Understanding how they interact is the difference between finishing a biome in two hours and spending an entire evening on it.
| Progress Layer | What It Tracks | Visual Cue | Community Completion Rate |
|---|---|---|---|
| Passport Stamps | Points of interest discovered (Explorer = 20) | Corner stamp on the map | ~43.8% |
| Trail Mastery | Trails completed without taking damage | Smooth Ride achievement (39.9%) | ~39.9% |
| Meteorite Extraction | Successfully extracted meteorites | Shiny Rock achievement (36.9%) | ~36.9% |
The A Gift from the Stars achievement — which requires extracting a meteorite within 5 minutes of its impact — sits at just 2.0% of players, the lowest completion rate on the public tracker. That's the clearest signal that rare meteorite events are the toughest layer to finish, and where most completion runs stall.
Why Completion Rates Skew Low
The public Steam Achievements page for Over the Hill shows a steep drop-off after the first few milestones. The drop isn't because the objectives are hidden — most are clearly marked on the in-game map — but because many drivers treat the game as a rally simulator rather than a collectible hunt. The completion grind lives in the margins: short detours, careful driving, and the patience to wait for a meteorite impact before extracting.
Players who frame their sessions around a single layer at a time tend to finish faster. Trying to juggle the trail mastery, meteorite, and POI layers in a single pass usually means rushing one of them, and the Smooth Ride achievement in particular punishes reckless driving. The most efficient approach is to commit to one layer per session and switch when the next region opens up.
Over the Hill Collectible Checklist by Region
Each region hides a different mix of collectibles, and the densities aren't equal. Some biomes are dense with crates and pebbles, while others spread their content across long switchbacks that demand a careful pace. The table below summarizes the rough layer distribution reported by community testing, though exact counts may shift slightly as the developer continues to tune the regions.
| Region Type | Approx. POIs | Crate Density | Pebble Field Size | Meteorite Event Frequency |
|---|---|---|---|---|
| Valley (Starter) | 8–12 | High | Medium | Rare |
| Forest (Mid) | 12–18 | Medium | High | Uncommon |
| Lakeside (Mid) | 10–14 | Low | High | Uncommon |
| Mountain (Late) | 14–20 | Low | Medium | Common |
| Highland (Endgame) | 16–22 | Very Low | High | Common |
The pattern is clear: the longer you stay in a region, the more likely a meteorite event becomes. If you're hunting over the hill rare meteorite events, focus on the Mountain and Highland biomes rather than burning time in the starter Valley.
Pebble Locations and the A Sack of Pebbles Grind
The A Sack of Pebbles achievement requires collecting 1,000 pebbles, and the Steam tracker shows this is one of the longer community grinds. Pebbles are scattered across the visible terrain rather than concentrated in fixed hotspots, which means efficient gathering depends on driving slowly along trails where the camera gives you a good angle on the ground.
Pebble density is highest in the Forest and Highland biomes, where the rocky terrain naturally scatters small stones across the trail. According to community data, drivers who log consistent short sessions of 30–45 minutes in a single biome tend to clear the 1,000 threshold faster than players who bounce between regions trying to optimize.
A useful heuristic is to treat pebbles as a passive layer: don't go out of your way to chase them, but always slow down when you see a cluster near the trail edge. Over the course of an hour, passive collection easily adds 40–60 pebbles to your count, and the grind compounds without ever feeling like a chore.
Crate Locations and the Treasure Hunter Loop
Crates are more concentrated than pebbles, and the community refers to the crate-hunting loop as the Treasure Hunter routine. Each region hides roughly 20–40 crates depending on size, and breaking them open is one of the fastest ways to push the region counter upward.
The crates tied to the Over the Hill all-collectibles checklist overlap with several region checklists, so crate progress feeds directly into your map completion percentage. If you want a focused hour, drive a short loop in a mid-sized biome and sweep every visible crate — most regions can be fully cleared in a single focused session.
Over the Hill How to Get Rewards From Region Completion
The reward structure is layered, and most players only see the surface tier. When a region hits 100%, you don't just get a stamp — you unlock a regional reward that feeds into the global unlocks track. The pattern is similar to other open-world racers, but the specific cadence is tuned for the slower, more deliberate pace of Over the Hill.
| Completion Tier | Trigger | Reward | Notes |
|---|---|---|---|
| Stamped Region | Region hits 100% | Cosmetic livery + 1 vehicle unlock token | Auto-applied to your garage |
| Three-Region Clear | 3 regions stamped | Trail mastery bonus | Reduces damage on marked trails |
| Full Map Clear | All regions stamped | Endgame vehicle + exclusive livery | Single-use unlock |
| Meteorite Master | All rare meteorite events completed | "Skyward" cosmetic set | Time-gated events only |
The three-region clear is the natural breakpoint for most drivers, because by that point you've already seen every biome type and have a vehicle suited for each terrain. Pushing past it toward the full map clear requires patience with rare events and a willingness to revisit regions you've already finished.
Reward Timing and the Patience Window
The single most common mistake is rushing the meteorite reward track. The A Gift from the Stars achievement — extracting a meteorite within 5 minutes of impact — sits at just 2.0% of players, which means the patience window is genuinely tight. Most extraction attempts fail because drivers don't realize a meteorite event has started until they're already past the impact zone.
Community reports suggest that meteorite events trigger roughly every 20–40 minutes in active regions, and the impact is marked by a brief sky flash that can be missed at high speed. Slowing down near known high-density zones — particularly the Mountain biome's ridge trails — gives you the reaction time you need to make the window.
How to Stack Regional and Global Progress
The most efficient completion strategy is to treat regional objectives as building blocks for the global reward track. Every regional stamp feeds into the global counter, and the global track gates the endgame vehicle and livery. According to the official FAQ thread on Steam, the global unlocks track follows a linear sequence: three regions unlock the trail mastery bonus, and the full clear gates the cosmetic set.
This stacking is what makes the long grind feel rewarding. Rather than grinding one biome to exhaustion, rotate through three regions in sequence, then return to the first for a second pass. By the time you finish your second pass on region one, your meteorite extraction count has grown, and the global counter is well past the halfway mark.
Over the Hill Unlocks and Rewards: A Layered Breakdown
The unlock system isn't a single track — it's three parallel tracks that interlock. The passport track feeds cosmetics, the trail mastery track feeds driving bonuses, and the meteorite track feeds exclusive event rewards. Finishing any one track to 100% gives you a tangible unlock, but the most satisfying runs push all three to completion simultaneously.
| Track | Primary Reward | Secondary Reward | Trigger |
|---|---|---|---|
| Passport | Cosmetics + livery | Region stamps | POI discovery |
| Trail Mastery | Damage reduction bonus | Smooth Ride achievement | No-damage trail runs |
| Meteorite | Skyward cosmetic set | A Gift from the Stars achievement | Rare event windows |
Players who only chase the passport track tend to miss the meteorite layer entirely, because the meteorite events are time-gated and don't appear on the standard map. The community's Over the Hill screenshot hub is a useful reference for spotting meteorite impact zones — players regularly post captures of impact sites with timestamps, which helps newcomers learn where events tend to land.
Cosmetics, Liveries, and Vehicle Tokens
The cosmetic track is the most forgiving of the three, because cosmetics don't gate progression. If you only care about driving and don't mind default liveries, you can finish every region without ever collecting a single cosmetic crate. But for players who enjoy customization, the cosmetic layer is where the long-term variety lives.
Vehicle tokens are the more interesting reward: each region stamp awards one token, and tokens unlock the next vehicle tier in your garage. By the time you've stamped three regions, you have enough tokens to access a vehicle class that wasn't available in the starter garage, which is a meaningful progression shift on technical trails.
The Endgame Vehicle and Why It Matters
The endgame vehicle is gated behind the full map clear, and the community treats it as the visual marker of a true completionist. According to player discussions on the Steam community forums, the endgame vehicle isn't statistically superior to the mid-tier vehicles, but it carries an exclusive livery and a distinct engine note that signals you've finished the grind.
This is a deliberate design choice by the developer: the endgame reward is a cosmetic flex, not a power spike. The Over the Hill vehicle comparison breakdown confirms that mid-tier vehicles perform within a few percentage points of the endgame option on every terrain type, so chasing the endgame vehicle is a long-term goal rather than a competitive necessity.
Over the Hill Rare Meteorite Events: Timing and Strategy
Meteorite events are the rarest collectible layer, and they require a fundamentally different approach from the rest of the grind. Instead of driving to a fixed location and picking something up, you're waiting for a sky event that triggers on its own schedule, then racing to the impact zone within a tight window.
| Event Phase | Approximate Duration | What To Do |
|---|---|---|
| Sky Flash | 1–2 seconds | Spot the flash, then check your compass for the impact direction |
| Impact Window | 5 minutes | Drive to the impact zone and extract the meteorite |
| Decay Phase | 10–20 minutes | Meteorite remains but no achievement credit |
The sky flash is the trigger for the A Gift from the Stars achievement, which requires extraction within the 5-minute impact window. After that window closes, the meteorite remains in the world for another 10–20 minutes, but extraction no longer counts toward the rare achievement. This is why 2.0% of players have triggered it — most attempts miss the tight window because drivers were too far from the impact zone when the flash happened.
Best Biomes for Meteorite Events
Mountain and Highland biomes are the highest-frequency meteorite zones, with community-reported event rates roughly twice that of the Valley. The reason is mechanical: meteorite events trigger more often in regions with high elevation variance, and the Mountain biome has the most vertical terrain on the map.
The Over the Hill map guide by region breaks down each biome's terrain profile, which is a useful reference for predicting where events will land. Mountain switchbacks and Highland ridge lines are the most consistent impact zones, because the elevation gives the sky flash a clear visual line.
Pre-Positioning for the 5-Minute Window
The single most effective strategy is to pre-position on a ridge or high trail before a meteorite event triggers. Drivers who spend their sessions in low-elevation valleys usually miss the window because the impact zone is too far to reach in five minutes from a valley floor. Pre-positioning on a ridge cuts travel time dramatically and gives you enough slack to find the impact crater even if the flash was brief.
A practical routine is to drive a slow ridge loop, scanning the sky for flashes every 30–60 seconds. When you spot one, immediately head toward the impact direction and start your five-minute timer. Most successful extractions happen within the first two minutes of the window, leaving a comfortable margin for finding the exact impact site.
Putting It All Together: A Practical Completion Run
The most efficient completion run is layered rather than linear. Instead of grinding one biome to exhaustion, you rotate between three active regions, push each toward 100% in sequence, and stack regional rewards with global progress. This is the routine the community refers to as the three-region rotation, and it's the fastest path to the full map clear.
A typical run might look like this: 30 minutes in the starter Valley sweeping crates and POIs, 30 minutes in the Forest biome collecting pebbles passively while driving trails, then 30 minutes in the Mountain biome pre-positioning for a meteorite event. By the end of two hours, all three regions have meaningful progress, and the global counter has advanced by a measurable chunk.
When to Switch Regions
The natural breakpoint is the 3-region clear reward, which the official FAQ describes as a meaningful progression shift. Once you've stamped three regions, the trail mastery bonus reduces damage on marked trails, which makes every subsequent run faster and less punishing. Drivers who push past this point usually find the next 2–3 regions faster than the first three, because the trail mastery bonus compounds.
Hidden areas and points of interest are worth a separate sweep if you're chasing the full Explorer achievement, because some POIs are tucked into terrain that the standard map doesn't highlight clearly. A focused hidden-area pass after the three-region clear is the cleanest way to push the POI counter past 20 and lock in the Explorer achievement.
Common Pitfalls and How to Avoid Them
The most common pitfall is treating meteorite events as a passive layer rather than an active one. Drivers who wait for an event to "happen to them" usually miss the five-minute window repeatedly. The successful pattern is the opposite: pick a high-elevation trail, drive it slowly, and treat every sky scan as a potential trigger. Over the course of an hour, you'll spot 1–2 flashes, and one of them will be close enough to extract within the window.
A second common pitfall is grinding the same biome for too long. The completion rate math shows that 39.9% of players have triggered the Smooth Ride achievement, which means the no-damage trail runs are genuinely harder than they look. Rotating between regions reduces the cognitive load of memorizing a single trail, and the variety keeps the no-damage attempt fresh.
A third pitfall is ignoring the global track. Regional stamps are satisfying, but the global unlocks track is where the long-term progression lives. Players who chase regional stamps without checking the global counter often finish all regions and then realize they missed a stacked reward because they didn't time their clears correctly. Check the global counter at every region stamp, and plan your rotation around its breakpoints.
Frequently Asked Questions
How many collectibles does each Over the Hill region have?
The count varies by biome, with smaller starter regions hiding 30–50 total collectibles and larger Mountain or Highland regions hiding 60–90. According to the public achievements tracker, only 43.8% of players have discovered 20 points of interest, which suggests the full per-region counts aren't immediately obvious from the in-game map.
What is the fastest way to get rewards from map completion?
Rotate through three regions in sequence, push each to 100%, and let the global unlocks track stack the rewards automatically. The 3-region clear is the most efficient breakpoint because it unlocks the trail mastery bonus, which makes every subsequent run faster and reduces damage on marked trails.
Where do rare meteorite events trigger most often?
Mountain and Highland biomes are the highest-frequency zones, with community-reported event rates roughly twice that of the Valley. Pre-positioning on a ridge or high trail is the most reliable way to catch the five-minute extraction window, because impact zones on the valley floor are usually too far to reach in time.
Do Over the Hill pebble locations reset between sessions?
Pebbles don't respawn, and the A Sack of Pebbles achievement requires a cumulative 1,000 pebbles across the entire map. Passive collection during regular driving is the most efficient approach, with the Forest and Highland biomes offering the highest density per minute driven.
Can the collectible checklist be completed solo?
Yes, the entire checklist is solo-friendly. There is no co-op requirement for any region, meteorite event, or trail mastery objective, and most drivers complete the full grind in single-player sessions. Community reports suggest solo runs are actually more efficient, because co-op drivers tend to split objectives and miss tight meteorite windows.